

Introduction
Imagine the creamy goodness of banana pudding, the rich decadence of cheesecake, and the satisfying crunch of a waffle cone—all in one bite. Sounds like a dream? Well, it’s time to turn that dream into reality with Banana Pudding Cheesecake Cones! Whether you need a show-stopping dessert for a party or just a sweet treat for yourself, this recipe is guaranteed to be a crowd-pleaser.

This guide will walk you through everything you need to know about making these indulgent cones. From ingredients and preparation steps to expert tips and FAQs, we’ve got you covered. Ready to dive in? Let’s get started!
Table of contents
1. What Are Banana Pudding Cheesecake Cones?
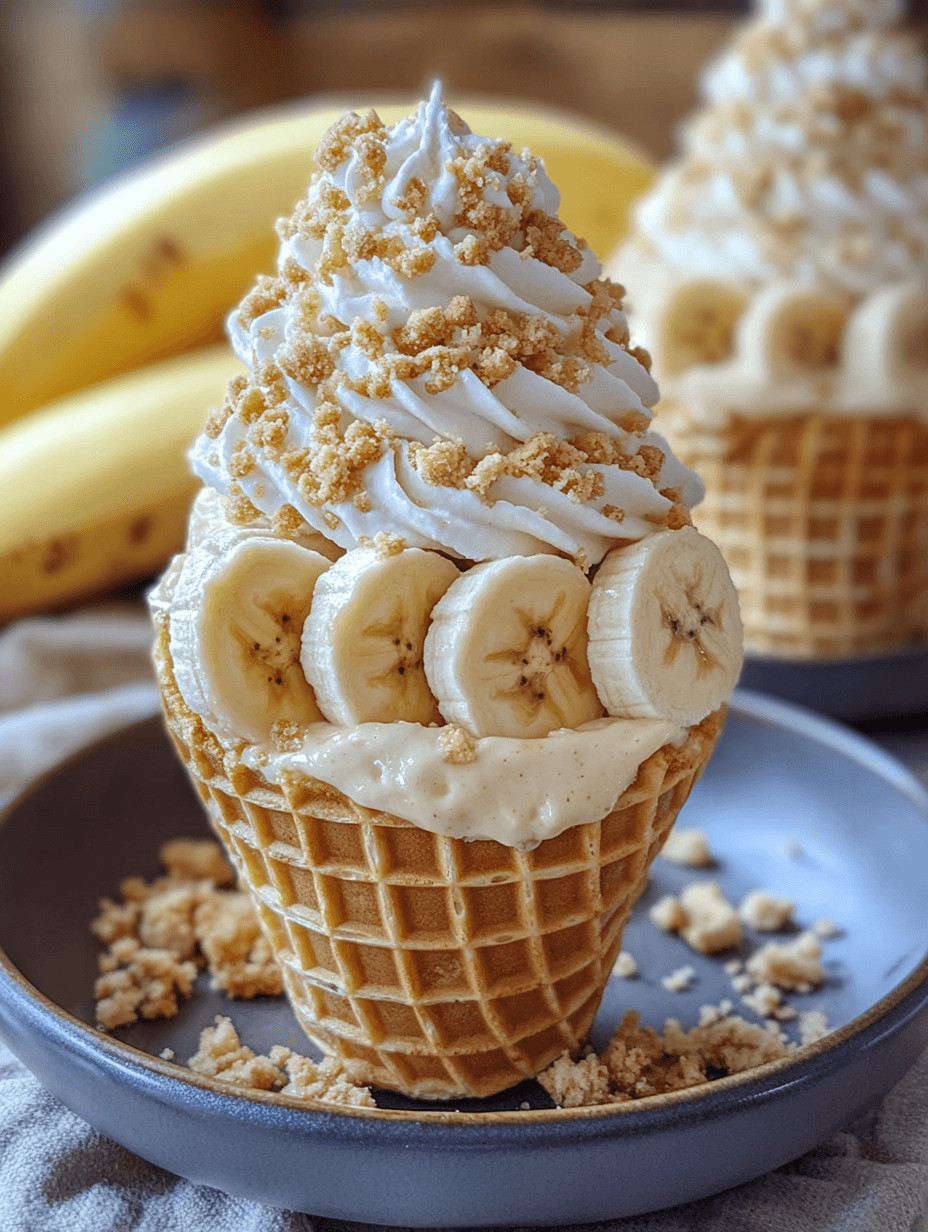
Banana Pudding Cheesecake Cones are a delightful fusion of two classic desserts—banana pudding and cheesecake—served in a crunchy waffle cone. They combine creamy, smooth cheesecake filling with banana flavor, layered with crushed vanilla wafers, and topped with whipped cream. The result? A handheld treat that’s bursting with flavor and texture.
2. Why You’ll Love This Recipe
- Easy to Make – No baking required; just mix, fill, and enjoy!
- Perfect for Any Occasion – Great for parties, family gatherings, or a personal treat.
- Customizable – Adjust flavors, toppings, and cones to your liking.
- Visually Stunning – A beautiful dessert that looks as good as it tastes.
3. Ingredients You’ll Need
For the Cheesecake Filling:
- 1 (8 oz) package cream cheese, softened
- 1/2 cup powdered sugar
- 1 teaspoon vanilla extract
- 1/2 cup heavy whipping cream
- 1/2 package (3.4 oz) instant banana pudding mix
- 1/2 cup cold milk
For the Cones & Layers:
- 6 waffle cones
- 2 ripe bananas, sliced
- 1 cup crushed vanilla wafers
- 1 cup whipped topping
Optional Toppings:
- Caramel drizzle
- Chocolate shavings
- Chopped nuts
4. How to Make Banana Pudding Cheesecake Cones
Making these cones is as easy as mixing, layering, and assembling. Follow the simple steps below for a foolproof dessert.
5. Step-by-Step Instructions
- Prepare the Cheesecake Filling: In a mixing bowl, beat the cream cheese, powdered sugar, and vanilla extract until smooth.
- Make the Pudding Mix: In a separate bowl, whisk together the instant banana pudding mix and cold milk. Let it sit for 5 minutes until thickened.
- Combine: Gently fold the pudding mixture into the cheesecake filling. Then, fold in the heavy whipping cream.
- Prepare the Cones: Lightly coat the inside of each waffle cone with melted chocolate (optional) to prevent sogginess.
- Assemble the Layers: Spoon a layer of cheesecake filling into each cone, followed by crushed vanilla wafers and banana slices. Repeat until the cone is filled.
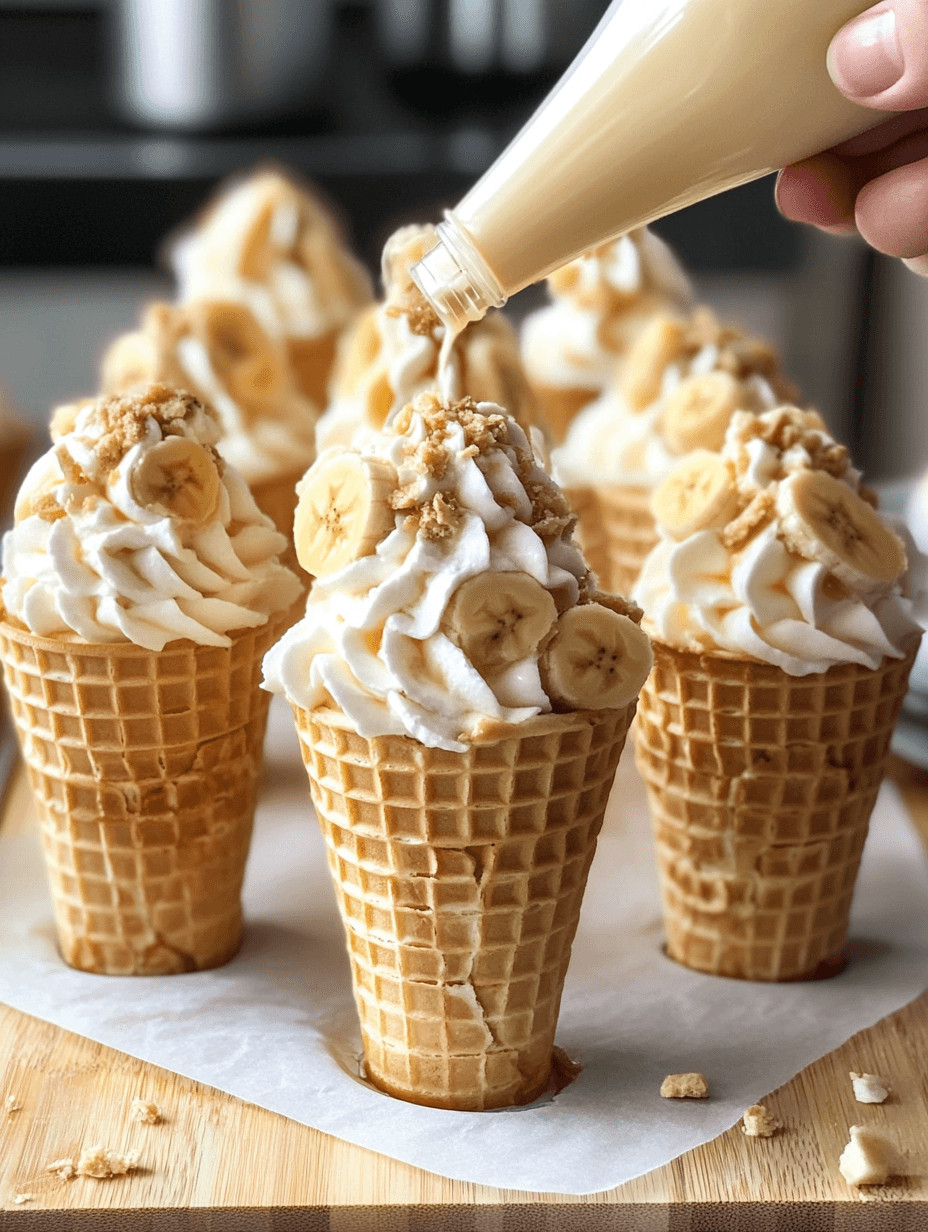
- Top It Off: Pipe whipped topping on top and sprinkle with extra vanilla wafer crumbs.
- Serve Immediately & Enjoy!
Banana Pudding Cheesecake Cones
Equipment
- Mixing Bowl
- Whisk
- Spatula
- Piping Bag
Ingredients
Main Ingredients
- 8 oz cream cheese softened
- 1/2 cup powdered sugar sifted
- 1 tsp vanilla extract pure
- 1/2 cup heavy whipping cream cold
- 1/2 package instant banana pudding mix 3.4 oz size
- 1/2 cup cold milk
- 6 waffle cones standard size
- 2 ripe bananas sliced
- 1 cup crushed vanilla wafers
- 1 cup whipped topping
- 2 tbsp caramel sauce optional
Instructions
- In a mixing bowl, beat the cream cheese, powdered sugar, and vanilla extract until smooth and creamy.

- In a separate bowl, whisk together the instant banana pudding mix and cold milk. Let it sit for 5 minutes until thickened.
- Gently fold the pudding mixture into the cream cheese mixture until fully combined.
- Fold in the heavy whipping cream until light and fluffy.
- Coat the inside of each waffle cone with a thin layer of melted chocolate (optional) to prevent sogginess.
- Spoon or pipe a layer of cheesecake filling into each cone, followed by crushed vanilla wafers and banana slices. Repeat until the cone is filled.
- Top each cone with whipped topping, a drizzle of caramel sauce, and extra crushed vanilla wafers.
- Serve immediately and enjoy!

Video

Notes
6. Pro Tips for Perfect Cones
- Chill Before Serving: Let the cones sit in the fridge for at least 30 minutes before serving for the best texture.
- Use Fresh Bananas: Overripe bananas can make the filling too mushy.
- Prevent Soggy Cones: Coat the inside of the cones with melted chocolate or peanut butter to keep them crisp.
7. Variations & Customization
Want to switch things up? Try these ideas:
- Chocolate Lovers: Add cocoa powder to the cheesecake filling.
- Nutty Delight: Sprinkle chopped pecans or almonds on top.
- Caramel Drizzle: A little caramel sauce makes everything better!
8. Best Toppings & Add-ons
Enhance your cones with:
- Crushed graham crackers
- Mini chocolate chips
- Toasted coconut flakes
9. Storage & Make-Ahead Tips
- Store filled cones in an airtight container in the fridge for up to 24 hours.
- Cheesecake filling can be made ahead and stored separately for 2-3 days.
- Avoid freezing—cones may lose their crunch!
10. Common Mistakes to Avoid
- Not softening cream cheese properly – This results in a lumpy filling.
- Filling the cones too early – Can lead to sogginess.
- Skipping the chilling step – The flavors meld better when chilled.
Frequently Asked Questions (FAQs)
1. Can I use store-bought banana pudding instead of instant mix?
2. What’s the best way to prevent the cones from getting soggy?
3. Can I make these cones dairy-free?
4. Can I use graham cracker cones instead of waffle cones?
5. How far in advance can I prepare these cones?
Final Thoughts
Banana Pudding Cheesecake Cones are the perfect balance of creamy, crunchy, and sweet flavors. Whether you’re making them for a special occasion or just treating yourself, they’re guaranteed to impress. So go ahead, gather your ingredients, and make this dreamy dessert today!
Let us know in the comments—how did your cones turn out? 🍌🍦